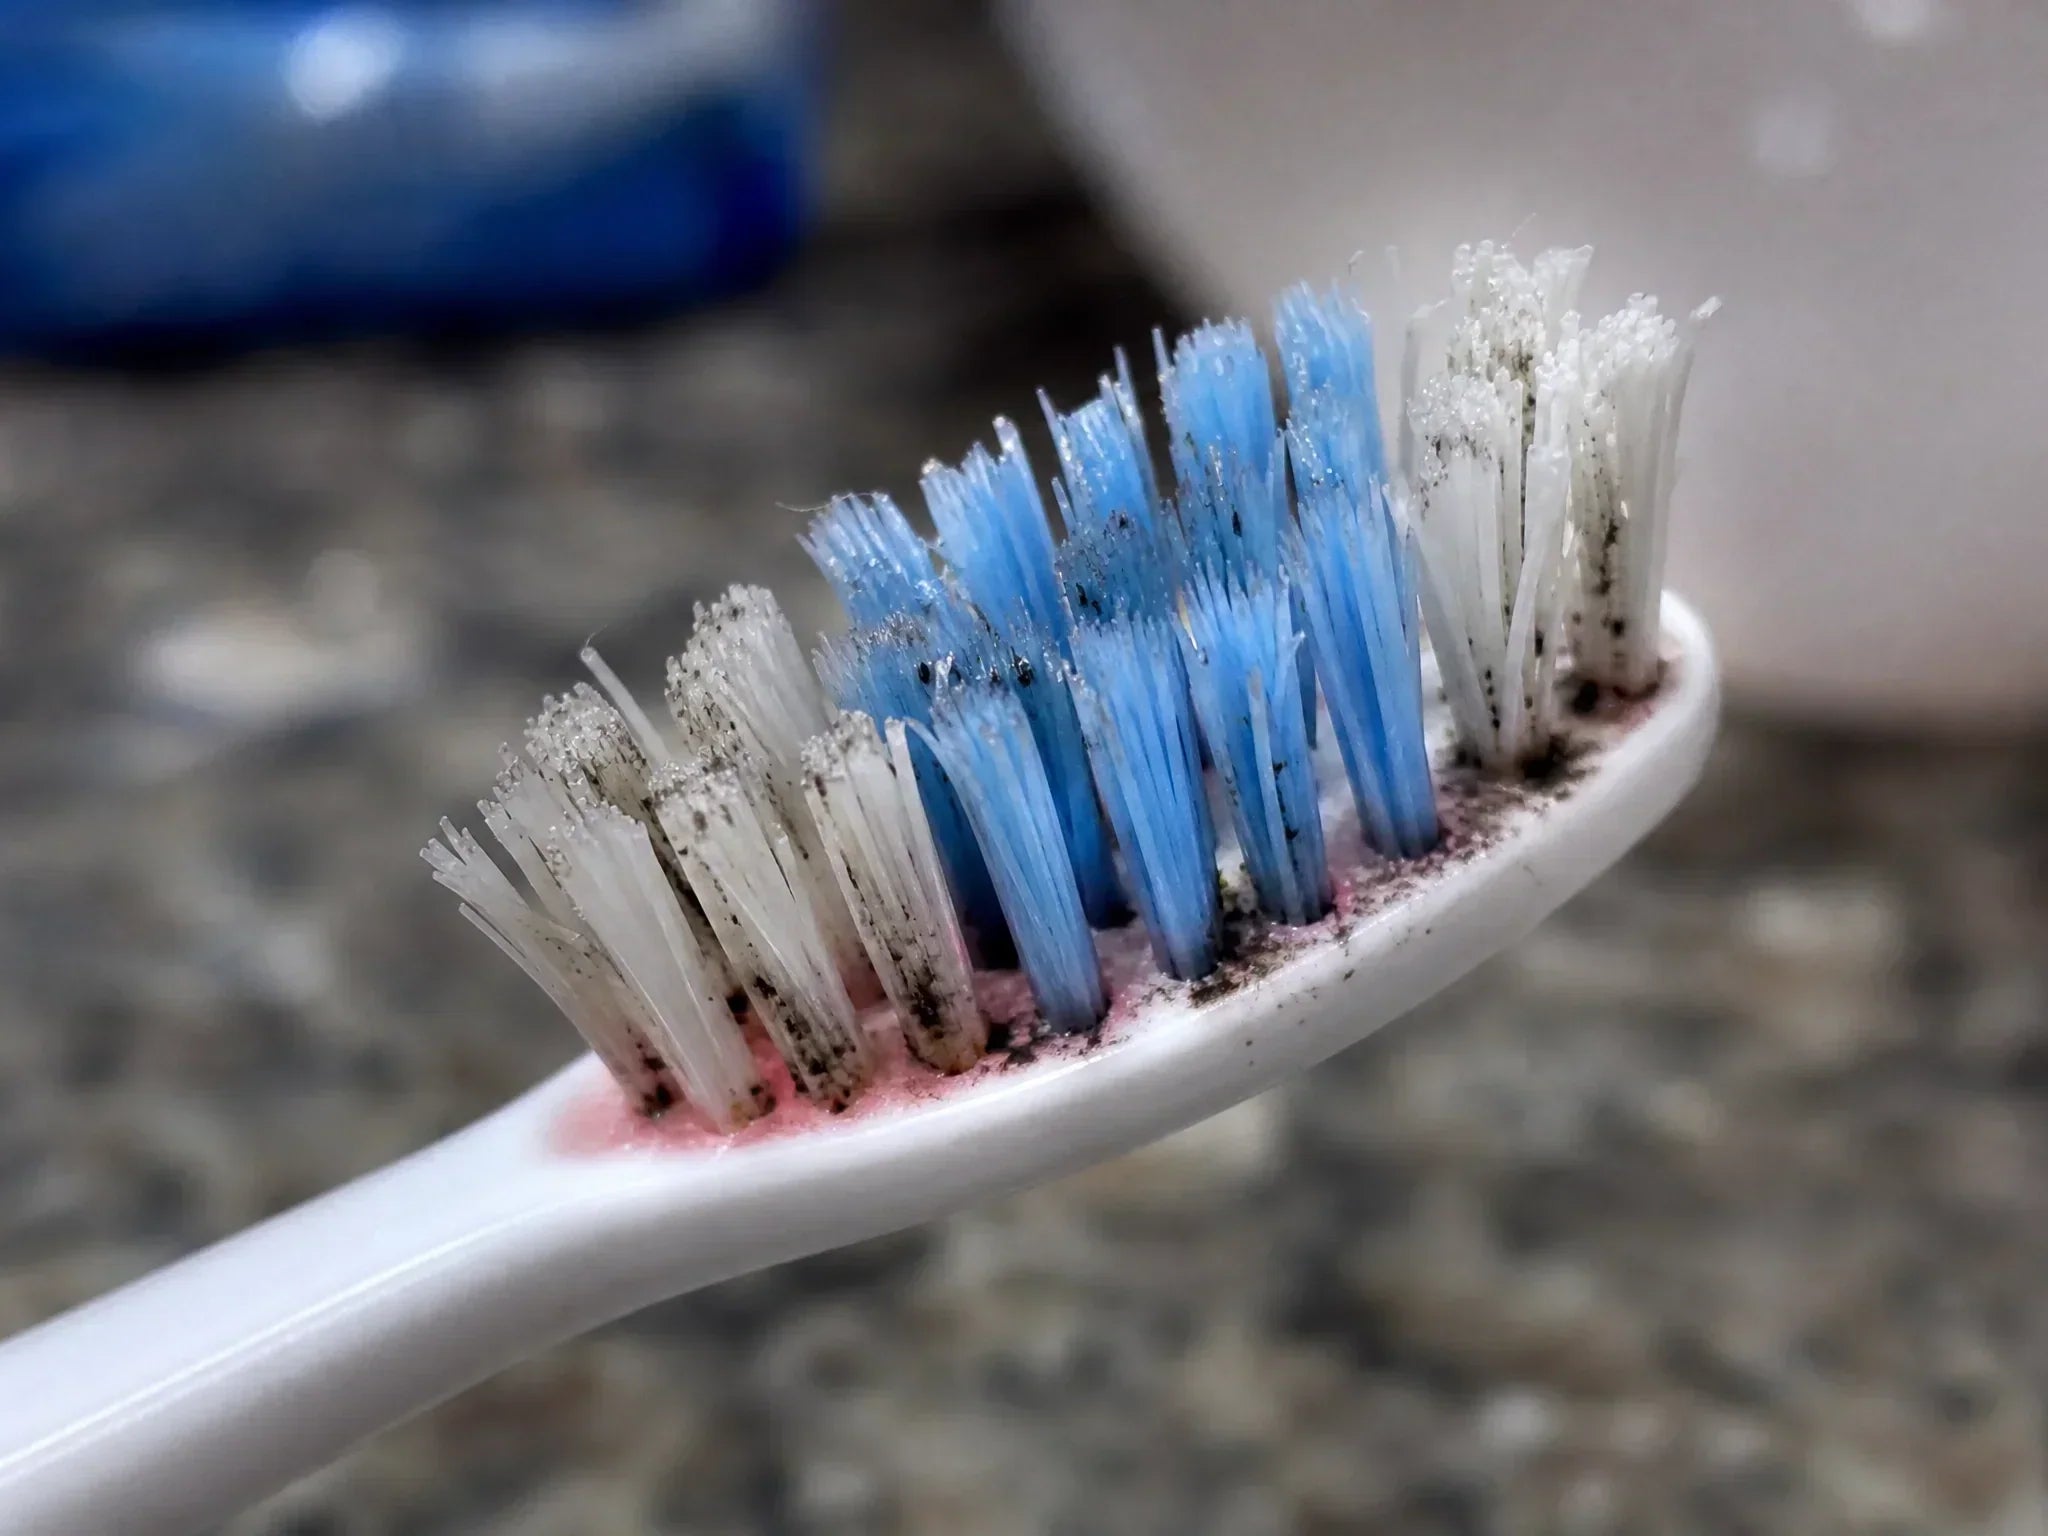

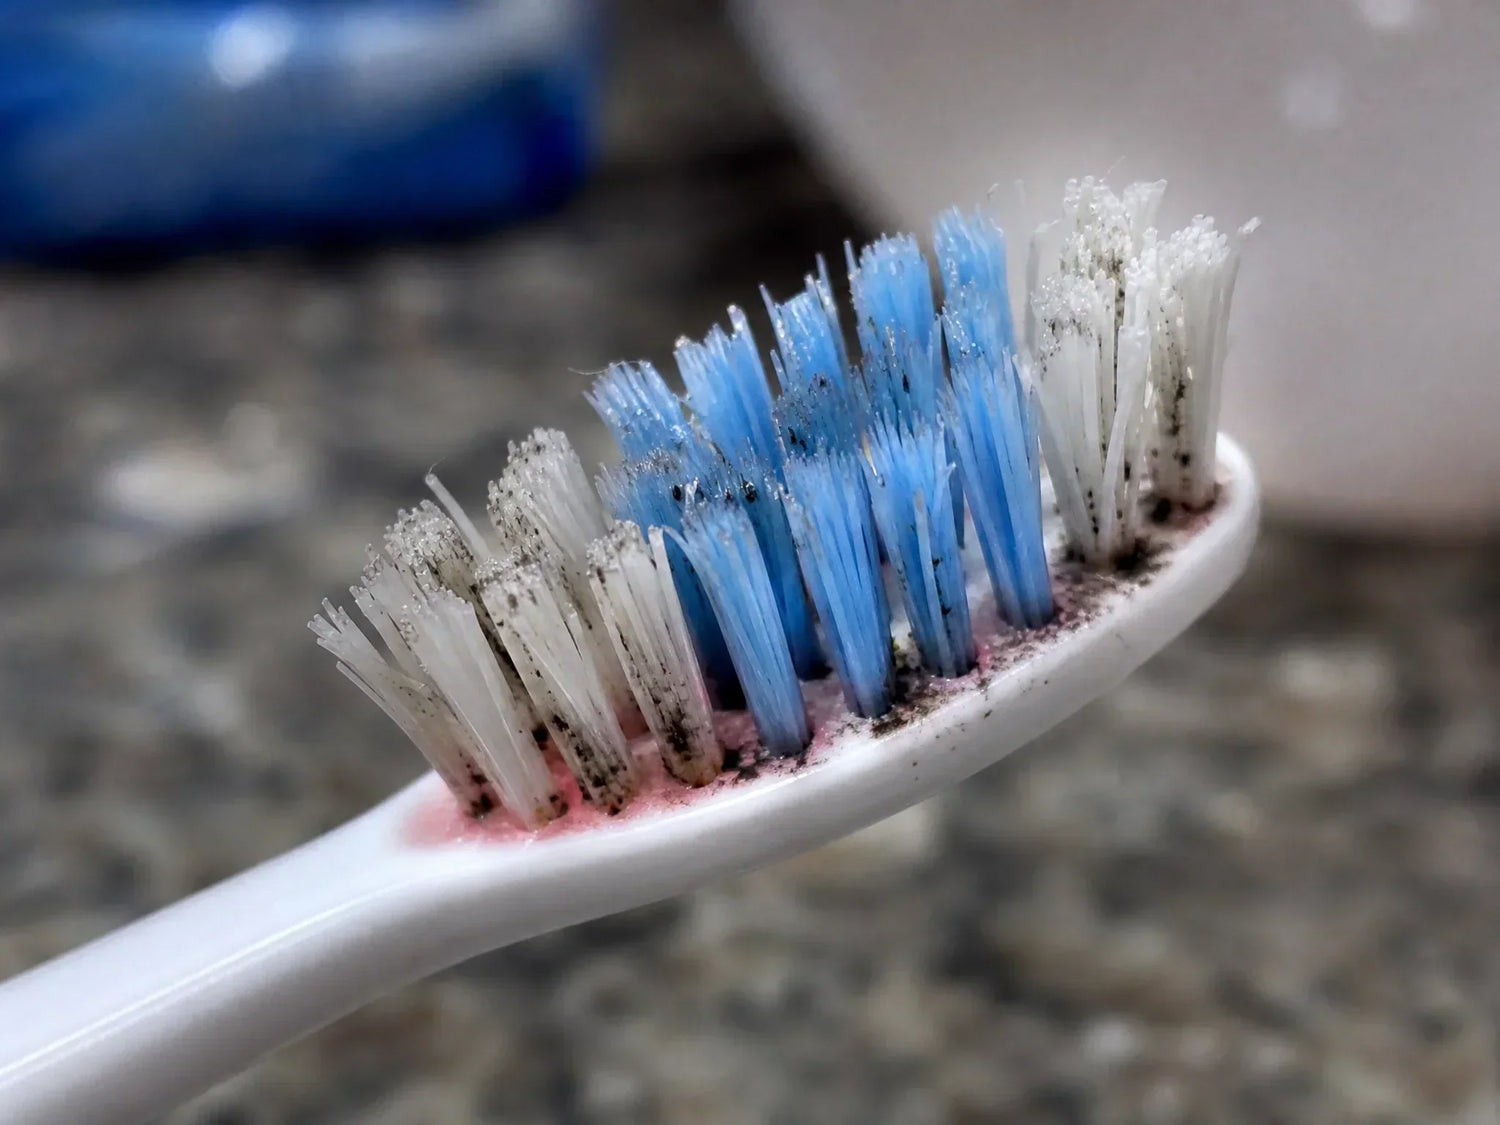
Waking up to black spots or a pink slime on your toothbrush is alarming — but it’s also a clear warning sign. This guide will help you decide if you should toss it or salvage it, and how to stop mold from ever coming back.

Why a Moldy Toothbrush Is a Serious Health Hazard
A toothbrush coated in mold isn’t just gross — it can directly harm your mouth and body. Every time you brush, you risk introducing aggressive bacteria and fungus into tiny gum pockets and your respiratory system.
Oral Infections, Gum Disease, and Tooth Decay
A used toothbrush bristles can harbor millions of microorganisms. Research has isolated pathogenic species like Streptococcus, Staphylococcus, E. coli, and Candida from contaminated brushes, all capable of re-infecting your mouth.
(source: Contaminated tooth brushes–potential threat to oral and general health)
These microbes can trigger or worsen: - Oral thrush (Candida overgrowth) - Gingivitis and worsened periodontitis - Stomatitis (painful mouth inflammation) - Tooth decay and even systemic issues like infective endocarditis in susceptible people.
Respiratory and Allergic Reactions
Mold spores don’t stay put — they float. Brushing with a moldy toothbrush aerosolizes spores, which you then inhale.
For anyone with asthma, allergies, or a sensitive respiratory tract, inhaling spores while brushing can trigger wheezing, coughing, or a full-blown asthma attack.
Common mold species like Aspergillus niger (black mold) and Cladosporium release spores linked to respiratory inflammation and allergic rhinitis.
Who Is at the Highest Risk?
If you or someone in your household is immunocompromised, very young, or elderly, a moldy toothbrush isn’t just a hygiene slip — it’s a genuine health threat that demands immediate replacement. These groups have weaker defenses against opportunistic infections that can enter through the mouth.
What Does Mold on a Toothbrush Look Like? (And Where to Find It)
Before you decide what to do, you need to recognize the enemy. Mold can present in several forms, and it hides in spots you’d never think to check.
The Common Types of Mold Found on Toothbrushes
- Black mold (often Aspergillus niger): shows up as dark, soot-like spots deep in the bristles. It can produce mycotoxins that irritate lungs.
- Pink mold: this is actually a bacteria colony, Serratia marcescens, not a fungus. It loves damp bathrooms and can cause respiratory or urinary tract infections.
- White fuzzy mold: likely Penicillium or Cladosporium, both known for triggering allergies and musty odors.
Hidden Hotspots: Handles, Heads, and Electric Toothbrush Bases
Mold rarely stays in plain sight. After each use, check these vulnerable zones: - The base of the bristle tufts where they anchor into the plastic head. - The seam between a removable brush head and the metal post — a textbook spot for mold on electric toothbrush handle. - The electric toothbrush’s charging cradle or any basin where water pools silently. - The inside of your toothbrush holder, where slime builds up within days.

When to Throw Away a Moldy Toothbrush (vs. When to Clean)
The core dilemma: disinfect or discard? The answer depends on how deep the contamination goes and who will be using it.
5 Clear Signs You Must Replace It Immediately
- Mold is embedded deep inside the bristle tufts, not just a surface smear.
- A musty odor remains even after a thorough rinse.
- The toothbrush is older than 3 months — beyond the ADA’s recommended replacement window.
- You’ve recently been sick; germs can survive and reinfect you.
- Anyone in the household, especially children, the elderly, or immunocompromised, will use the brush.
The Only Condition Where Disinfection Might Be Acceptable
You can attempt cleaning only if the mold is fresh, superficial, and restricted to the non-bristle plastic parts (like the handle or just below the head). Even then, proceed with extreme caution: if the mold reappears within a day, toss the brush immediately.
How to Safely Disinfect a Toothbrush with Surface Mold
If the contamination is light and only on the handle or exterior, the following steps can eliminate the threat — but always detach electric brush heads before any soaking.
Step-by-Step Cleaning Methods That Actually Work
A comparison of the most reliable, research-backed disinfectants:
| Method | How to Use | Pros | Cons | Contact Time |
|---|---|---|---|---|
| White vinegar soak | Mix equal parts vinegar and water; submerge the brush head (bristles only). | Low-cost, effective against molds and bacteria | May leave a temporary vinegar taste | 15–30 minutes (source) |
| 3% hydrogen peroxide bath | Pour fresh H₂O₂ into a shot glass; place bristle tips in the solution. | Strong oxidation kills spores and bacteria fast | Must discard solution after each use | 5 minutes |
| Baking soda paste | Mix 2 tsp baking soda with a little water, scrub the handle with an old toothbrush. | Gentle abrasive, neutralizes odors | Not a deep disinfectant alone | Scrub for 1–2 minutes |
| UV sanitizer | Place the brush head inside the device and start the cycle. | No chemicals, quick | Effectiveness varies; may not reach all crevices | Follow device instructions |
After any soak, rinse thoroughly with warm water and let the brush air-dry completely upright.
How to Deep Clean an Electric Toothbrush Head Without Breaking It
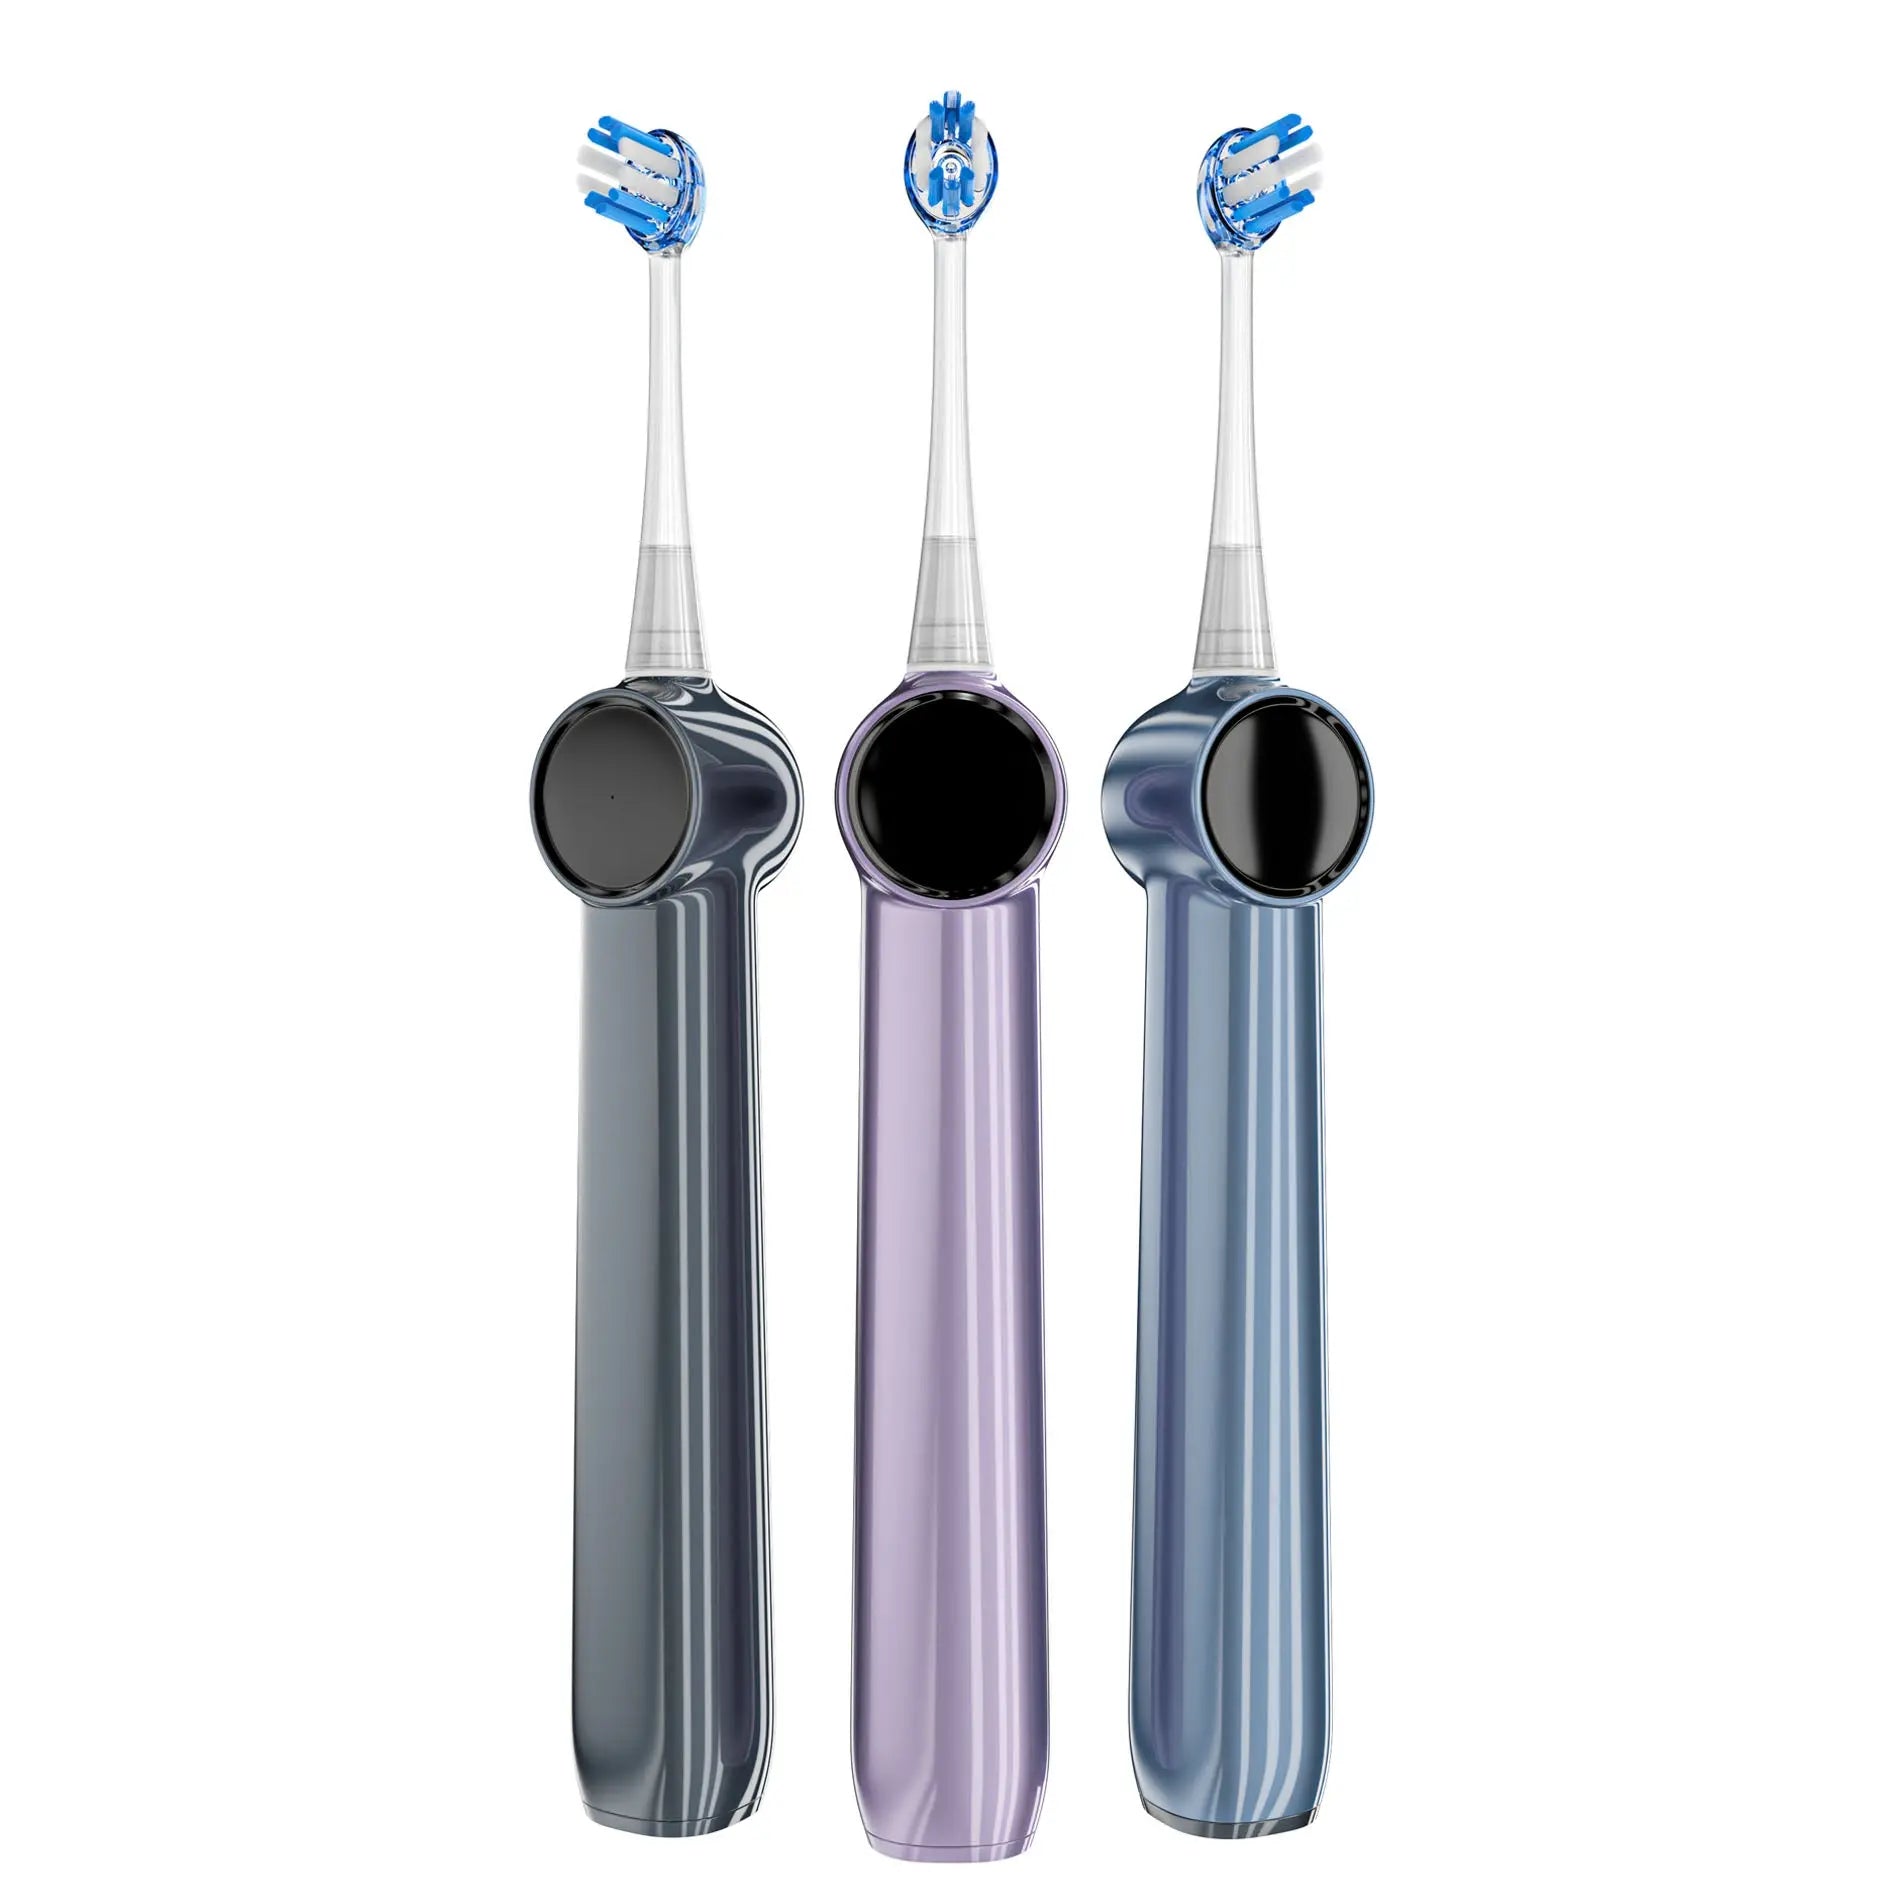
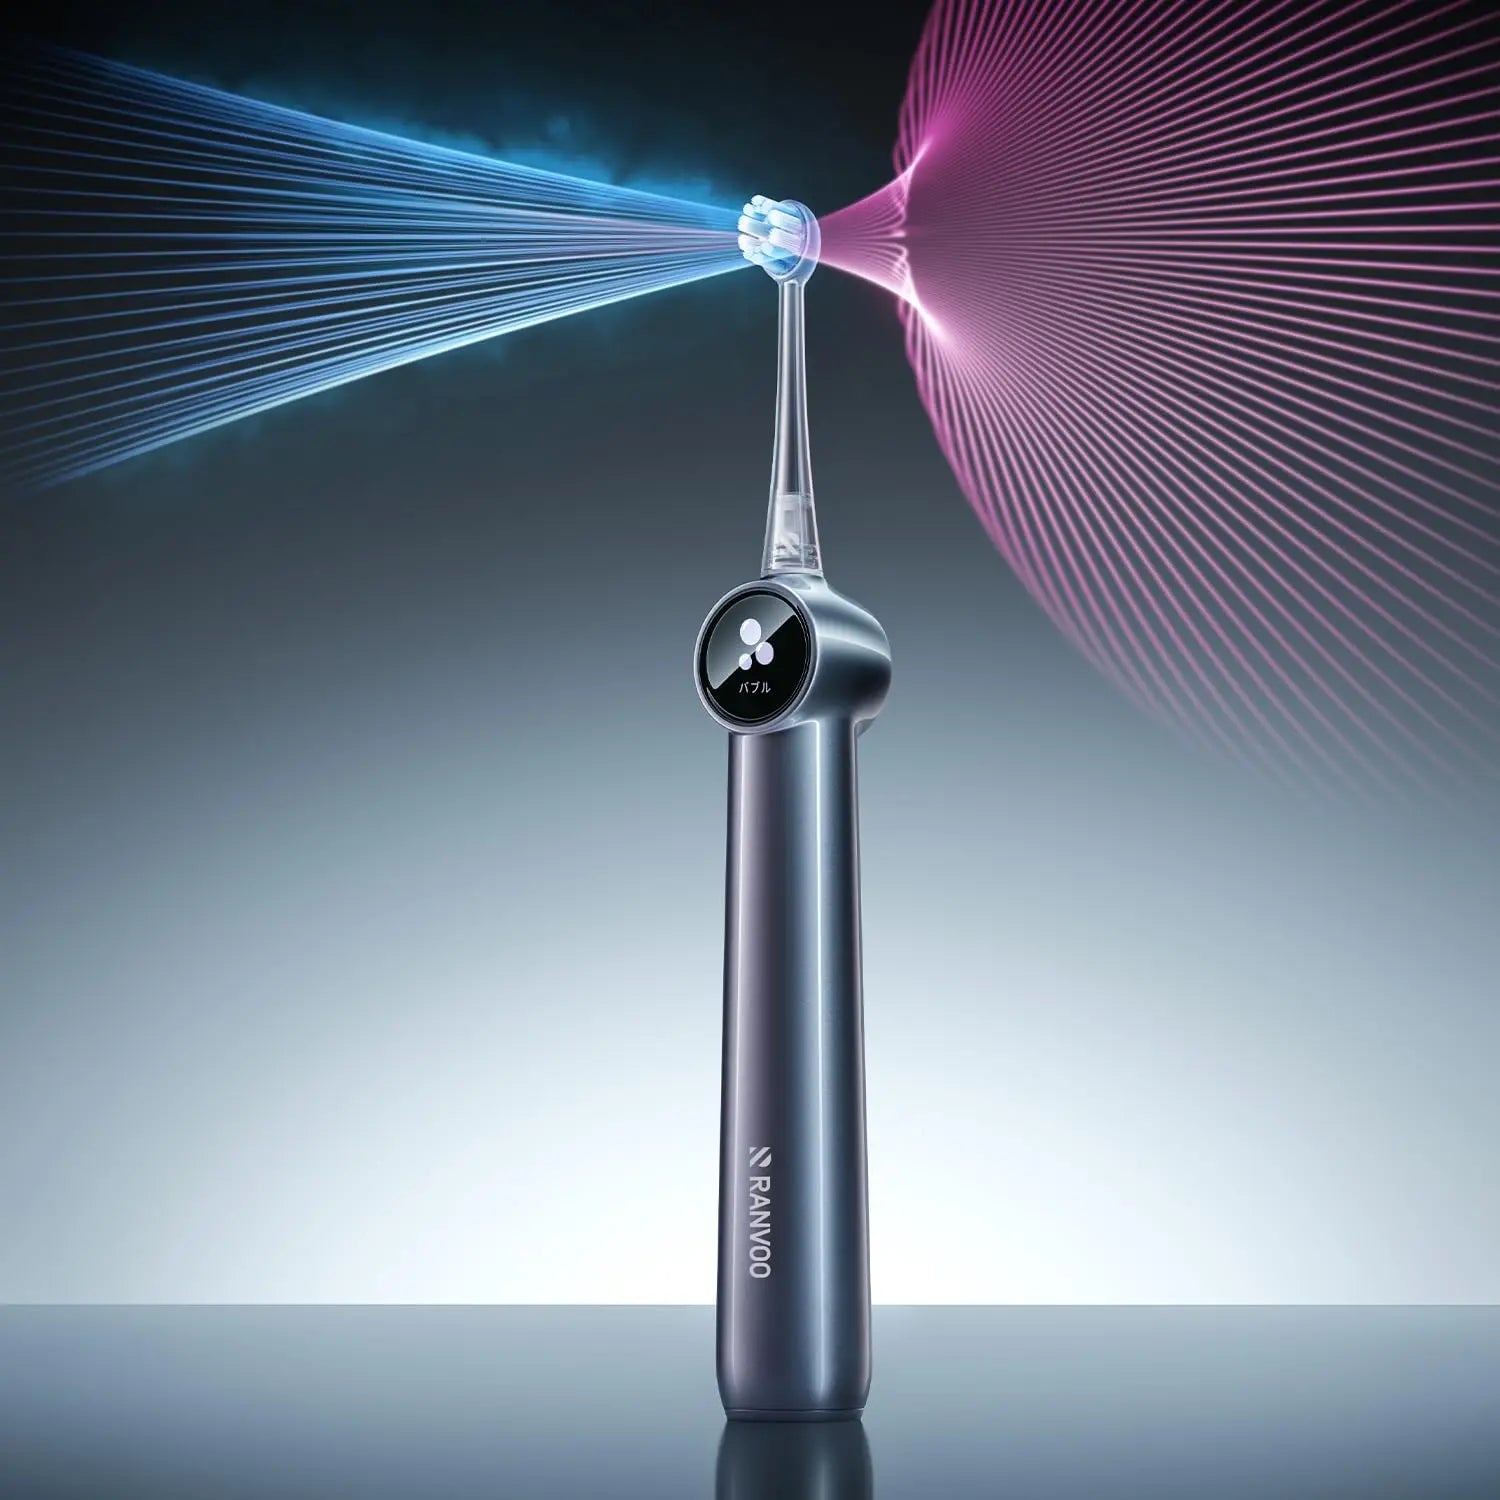
Detach the brush head. Wipe the metal post and the handle’s top surface with a cloth dipped in white vinegar or rubbing alcohol. Never submerge the electronic handle. Dry the metal post fully before reattaching a new or cleaned head. For models like the RANVOO AirJet X5, the brush head detaches easily and the handle is sealed with IPX7 waterproofing — simply wipe the exterior and dry; no crevices trap moisture, making this routine even simpler.
How to Prevent Mold Growth on Your Toothbrush for Good
Prevention relies on one simple principle: dryness. A toothbrush that never stays damp can’t grow mold.
The Golden Rules of Proper Toothbrush Storage
| Do This | Not That |
|---|---|
| Store upright in an open holder so water drains and air circulates (source) | Place a wet toothbrush in a closed cabinet or cover it with a cap |
| Rinse thoroughly after every use to remove toothpaste residue | Let brushes touch each other — cross‑contamination thrives |
| Keep brushes at least 6 feet away from the toilet, and close the lid before flushing to reduce toilet plume | Store near the sink where splashes hit |
Choosing a toothbrush with a fully waterproof, sealed body — such as the RANVOO AirJet X5 with IPX7 rated protection — adds an extra defense: moisture can’t sneak into the handle, eliminating a classic hidden breeding ground. Its food-contact grade bristles (certified safe) and ultra-high end-rounding rate (99.99%) also reduce rough surfaces where bacteria and mold cling.
[Image Generation Prompt: A clean bathroom countertop with an open-air toothbrush holder holding two separated toothbrushes upright. Sunlight streams in, and a small plant sits nearby, creating a fresh, hygienic vibe. No mold visible.]
The Overlooked Enemy: Your Toothbrush Holder
Even a spotless brush will re-contaminate itself if the holder is slimy. Clean the holder weekly: run it through the dishwasher’s top rack or soak it in warm, soapy water, then scrub all corners with an old toothbrush. Let it dry completely before returning the brushes.
How Often You Should Replace Your Toothbrush or Brush Head
The American Dental Association is clear: replace toothbrushes every 3 to 4 months, or sooner if bristles are frayed (source). After any illness, swap it out immediately. This rhythm also cuts the mold risk dramatically — a fresh head is far less likely to harbor established fungal growth.
A $4 toothbrush head replaced on time is cheaper than treating an oral infection. Stay on schedule, store it dry, and mold won’t get a second chance. And when you do upgrade to a quality electric model like the RANVOO AirJet X5, its smart pressure alert (≥2N) protects sensitive gums while the IPX7 body resists moisture — so you can brush confidently without worrying about hidden mold.